Grab your beverage of choice.
Sit down.
Take some deep breaths.
Take a sip.
This list is what I consider the bare basics for simple stitching. If you choose to add more accoutrements to your bag, wait a while to see if you really need them, especially if you want this to be inexpensive because you’ll have to purchase them.
The basics:
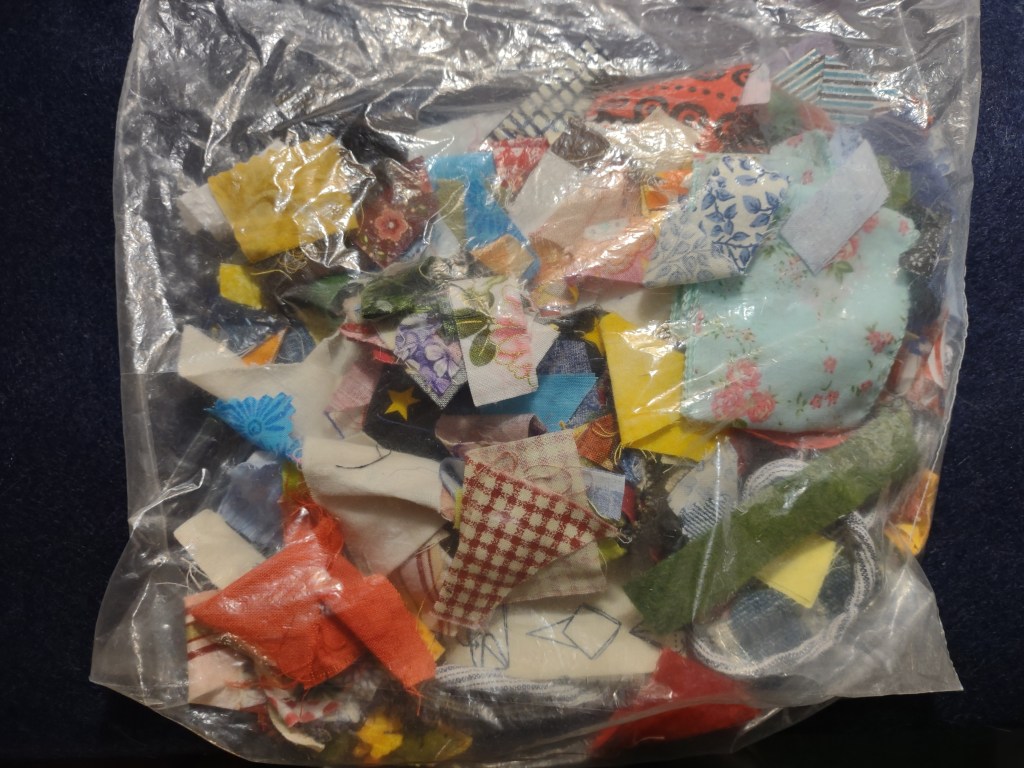
- Fabric pieces. These can literally come from anywhere. Fabric remnants, leftover project scraps, old clothes, thrift stores, Facebook marketplace, friends, family or even neighbors who craft and have scraps they’re getting ready to throw out or are willing to donate. You can also purchase bags of scraps from places like Etsy and eBay.
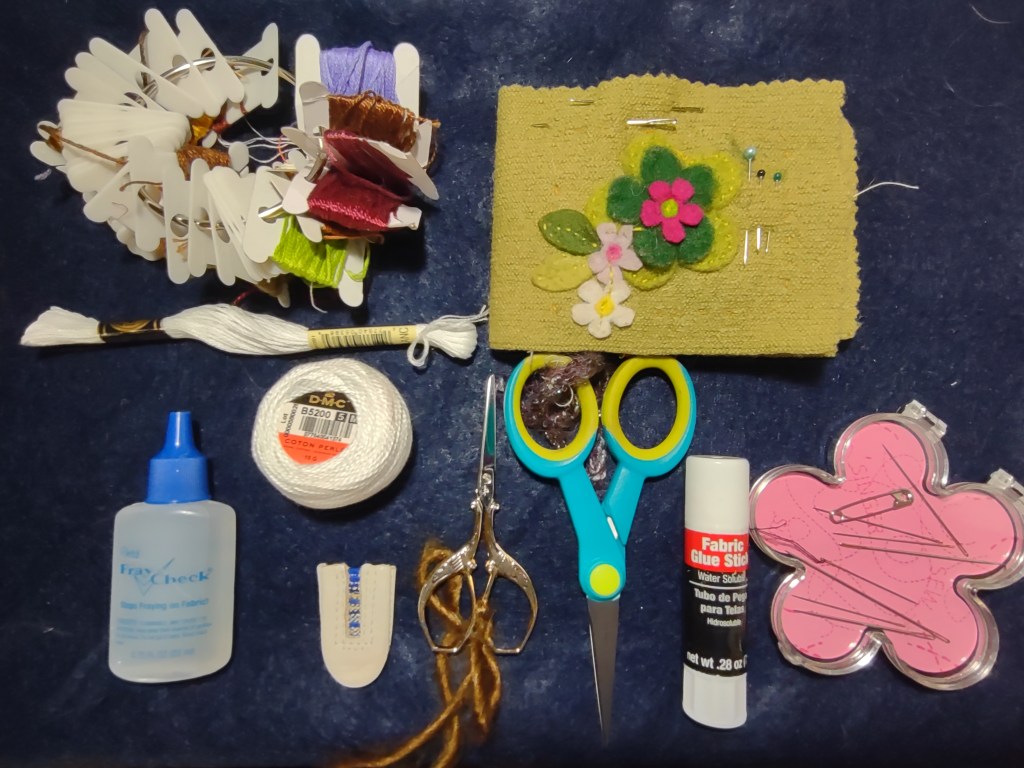
- Embroidery thread. DMC is the most common. You only need white to get started. I have a ginormous bag of collected colors that I can choose from; however, it’s totally unnecessary unless you’re like me and you want all the color. Most of my thread was purchased at Michael’s and Jo~ann’s :-(. Check thrift stores and thrift craft stores like Remainders in Pasadena.
- Small scissors. Most craft stores sell the little scissors, where the blades are only about 2” long. They travel easily and will fit into a portable bag.
- A needle or 3. This needle needs to have a big enough eye to get the embroidery thread through, especially if you plan to use all 6 strands of the embroidery thread without splitting them apart. You may want to keep some extra needles on hand in case you lose one.
- A thimble. I have a leather thimble because I can’t stand the metal ones. I found mine on Etsy. You do you. Even if you don’t use one in the beginning, you will eventually want a thimble because after 20 minutes of trying to push the needle though 2 or sometimes 3 layers of fabric, you will have a hole in your fingertip, and it will bleed. And then your fingertip will be sore and that’s not fun. (unhappy face here)
- Some straight pins, safety pins or a fabric glue stick. These are to hold your fabric in place until you stitch it down. I’ve used all three. Fabric glue is safer if you have little ones or pets that could step on the pins when they like to run off onto the floor. I’m constantly finding pins stuck in the rug. Ugh.
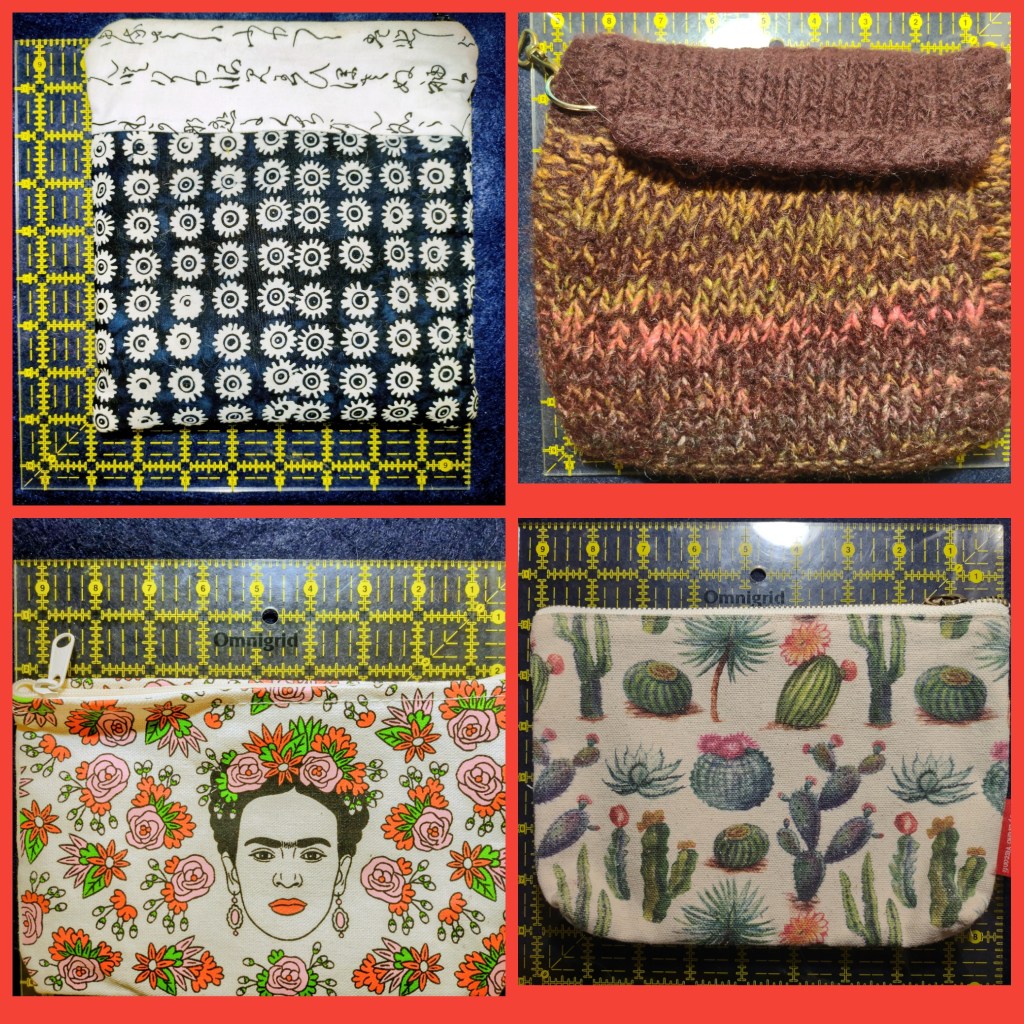
- A small bag to hold all your accoutrements. This doesn’t have to be anything fancy. It could be a zip-lock baggie. It could be a small, unused makeup bag or some other small bag you have stored away. The key is making sure everything fits easily. Thrift stores are a great place to find one if you don’t have something you can use at home. Or make one if you feel so inclined. 🙂
- Optional items:
- A felt needle case or magnetic needle case to store your needles, pins or safety pins.Plastic embroidery thread bobbins to keep your thread neat and tangle free. The paper ones work for a while but then start falling apart with use.A small bottle of Fray check. This stuff is great when you have wily fabric threads that like to keep unraveling.
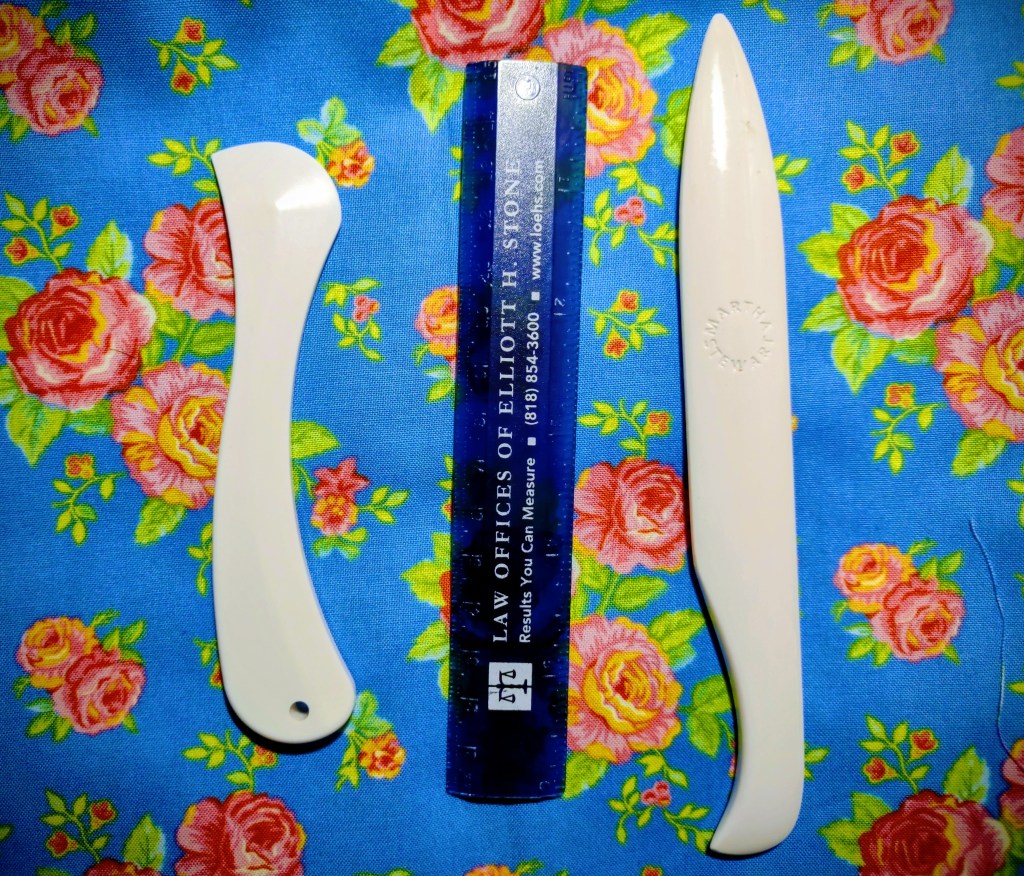
- Something with an edge like a small ruler, hera tool, bone or wood folder. Anything that can make a crease if you want to fold an edge over. In a pinch, your thumbnail will do the same thing. Not too big if you want it to be portable.
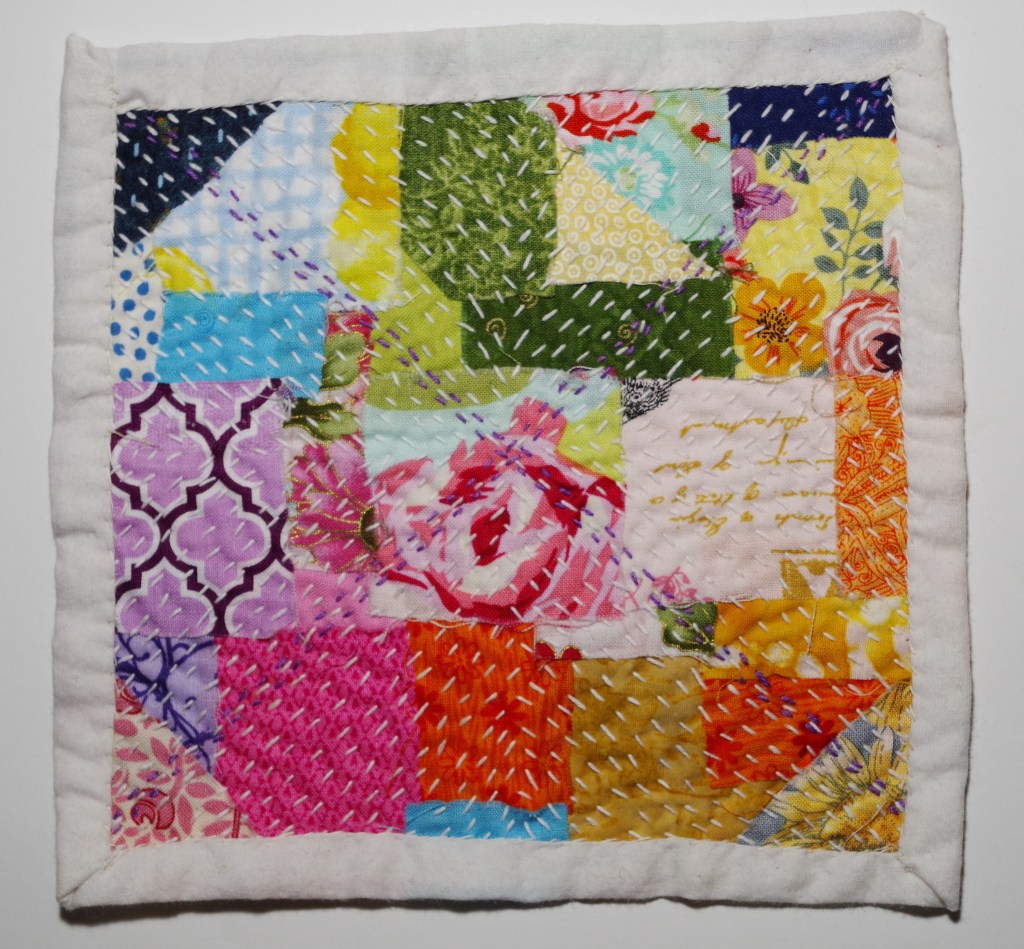
Start with a small piece to avoid feeling overwhelmed in the beginning. Two of my smallest pieces are only 4”x4”. As time went by, the pieces I stitched got somewhat bigger, but not so big that it became intimidating.
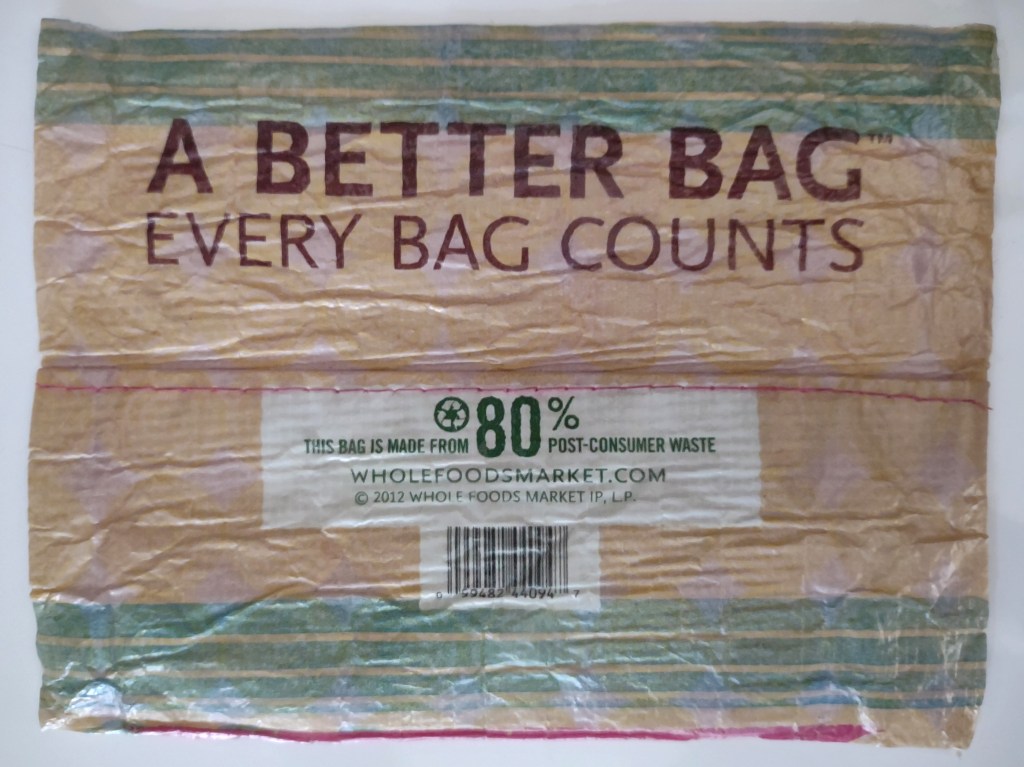
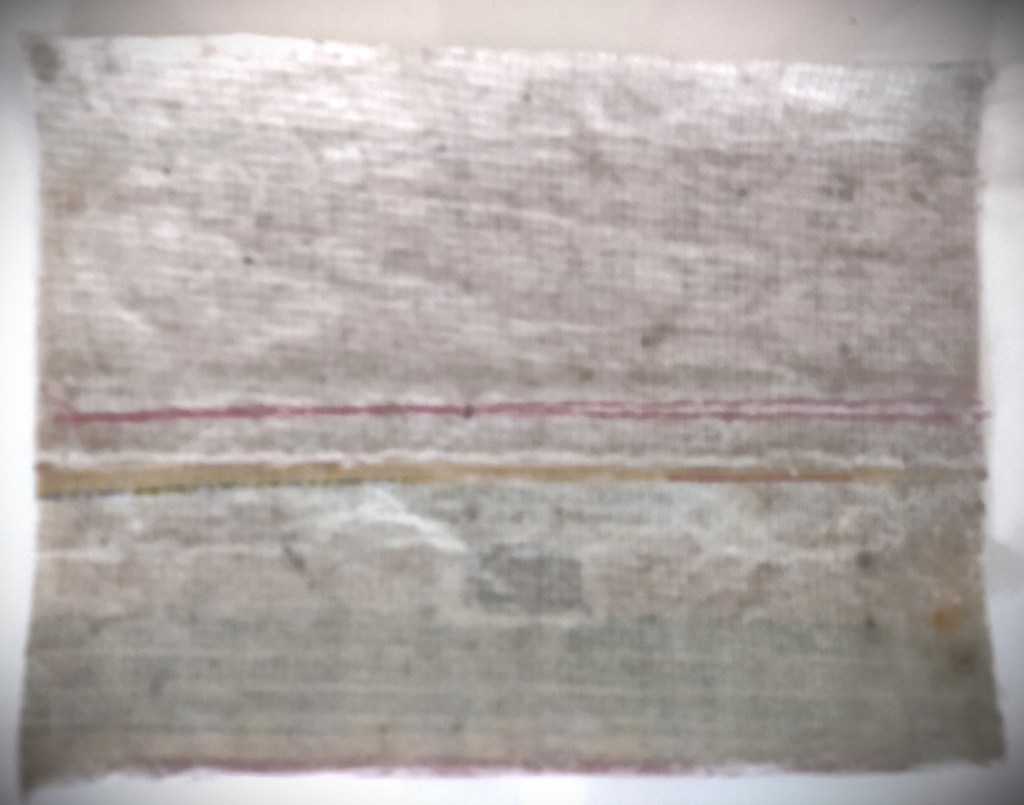
Find a piece of background fabric. Something to pin and stitch your selected pieces. It can literally be anything. I have a new piece I’m starting where the background “fabric” is the bottom of an old Whole Foods recycled bag that was passed it’s prime.
I simply cut out all the usable parts and set them aside for future pieces.
Intuitively pick out fabric pieces, lay them on top of your background and start pinning or fabric gluing them in place. Believe me when I say, ALL THE COLORS AND PATTERNS GO TOGETHER. Go right up to the edge and over a bit to make sure the entire surface is covered. You can trim the edges if needed later. It’s okay if pieces overlap; in fact, it’s better if some of them do to make sure the background is totally concealed. Unless you want it to show through. Your piece, your choice.
The play of mismatched colors and patterns becomes symbolic of how life really is: a collage of events, situations, experiences, relationships and emotions.
Remember:
This is not about matching colors or patterns.
This is not about perfectionism.
This is not about “aesthetics”.
This is about processing your emotions and emotions are messy. And when you first start stitching, your pieces might look messy.
But, as you begin to lay down stitches, something wonderful starts to happen: those pieces of fabric begin to transform into a gorgeous motley montage of color and pattern in a way you probably could not have imagined! Sometimes, they show their beauty before stitches are even added. To this day, I am still shocked and delighted when a bunch of random abric pieces create a medley of unexpected beauty.
So, dear stitcher, gather your tools, your fav drink and find a quiet space. If time is precious, give yourself 15 minutes. And if all you do is pick out your fabric and pin them on the background, that’s great! You can pick it up the next time and do another 15 minutes. If you have more time, you might be able to finish a piece in one sitting.
Do what you are able with where you are.
Sit, sip & stitch with me.

Leave a comment